
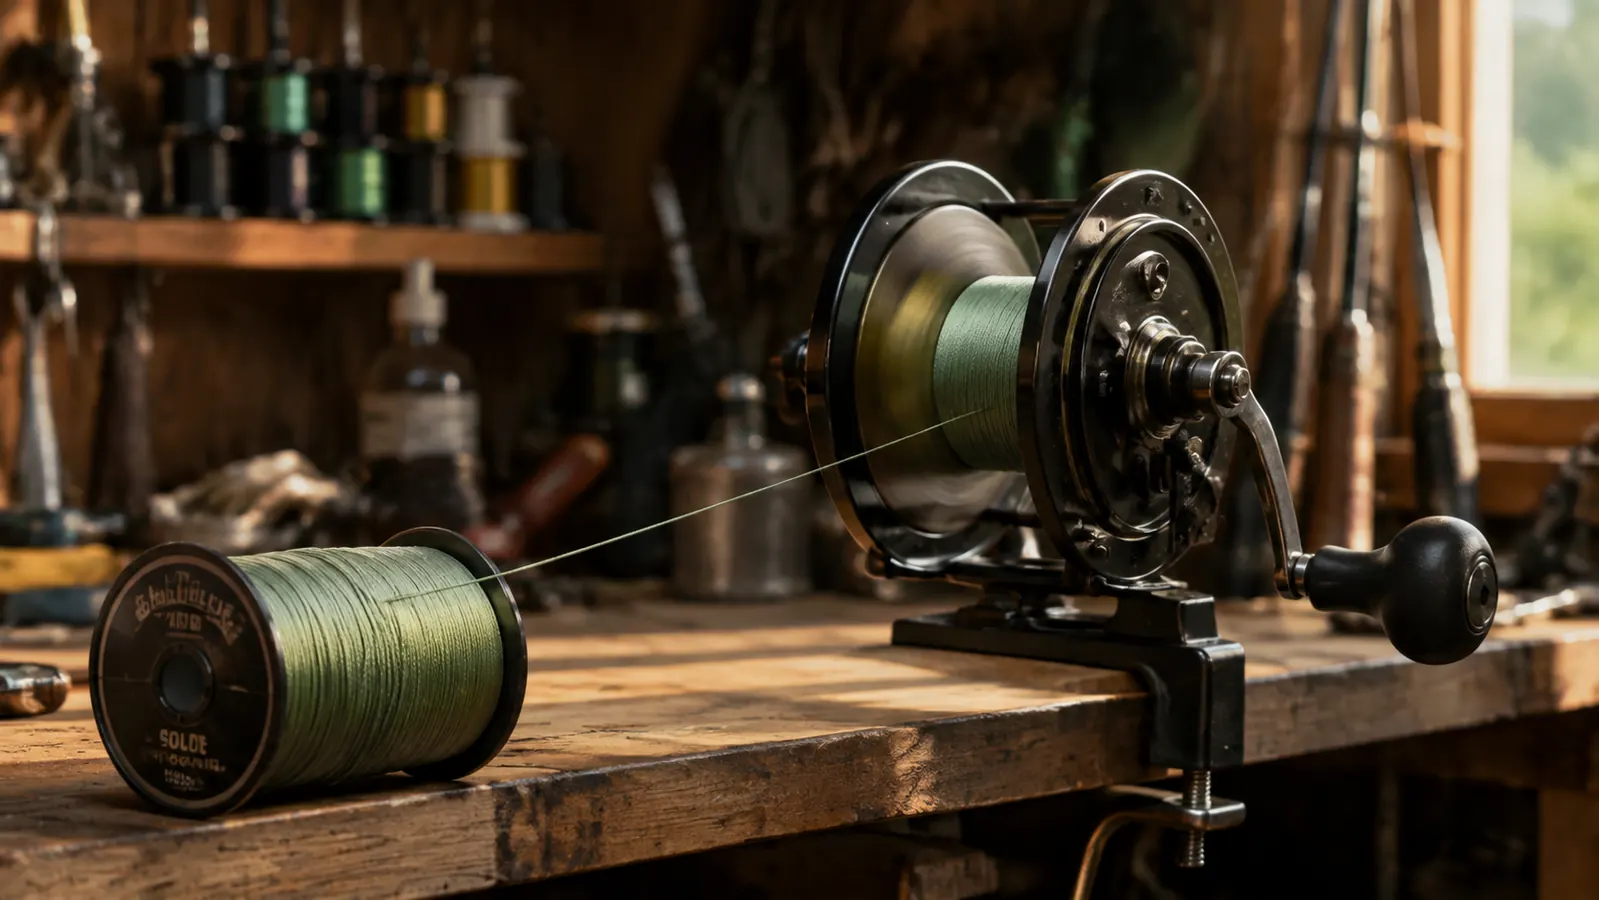
Every angler who switches to braid learns the same lesson the hard way. You spool the reel, tie on a crankbait, and on the very first cast the line comes off looking like a mess of thread that would embarrass a cat. I have been there. It was a spool of Power Pro I put on my spinning reel one evening before a smallmouth trip on the Current River, and the first cast blew up so bad I spent the next twenty minutes picking line out of the bail and cutting what I could not save. The line was not the problem. The way I got it on the reel was.
Here is what braid does that mono hides. Monofilament has memory and stretch, so it forgives a sloppy spooling job. It lays down, it settles, it behaves. Braid has none of that. It is round, slick, and has zero stretch, and if it goes on the spool with even a little twist, that twist stacks up on the first cast and turns your presentation into a bird's nest. The fix is not expensive line or a fancy reel. It is a method. I have spooled a lot of Power Pro over the last two seasons, and this is the exact way I do it so the first cast comes off clean.
Spool It Right the First Time
Power Pro is the braided line I reach for, and getting it on the reel clean matters more than the line itself. Check today's price on Amazon and grab a spool before your next trip.
Amazon Check Today's Price on Amazon →Step 1: Strip the Reel Clean and Back the Spool
Start with a reel that is clean and dry. If you are replacing old line, strip the spool right down to the arbor. The fastest way is a line remover, but I usually just open the bail, hook the line to a fence post, and walk backward until the spool is bare. Then wipe the spool face with a dry cloth. Oil or old line residue on that surface can let the whole spool slip under load, and a slipping spool is its own kind of nightmare.
Once the spool is bare, put down a base layer before the braid goes on. You have two good options. The first is mono backing, about a quarter to a third of the spool, tied to the arbor with a good arbor knot. The second is a single strip of electrical tape laid flat across the metal. Braid is slick and can spin on a bare metal spool when a big fish loads the drag, and that is a failure you will not see coming. The backing gives the Power Pro something to bite into.
I keep an old spool of mono around just for this job, and it has saved me from at least one heartbreaker on a big catfish. Tie the mono to the arbor, wind it on under light tension, then join the braid to the mono with a small, flat knot like an Alberto or a uni-to-uni. Cut the tag ends short and smooth. That join sits deep on the spool, so it never reaches the rod guides, and you get to use the whole reel for braid instead of wasting the first third of a pricey spool on line that never sees daylight.
Step 2: Set the Filler Spool So It Spins Free
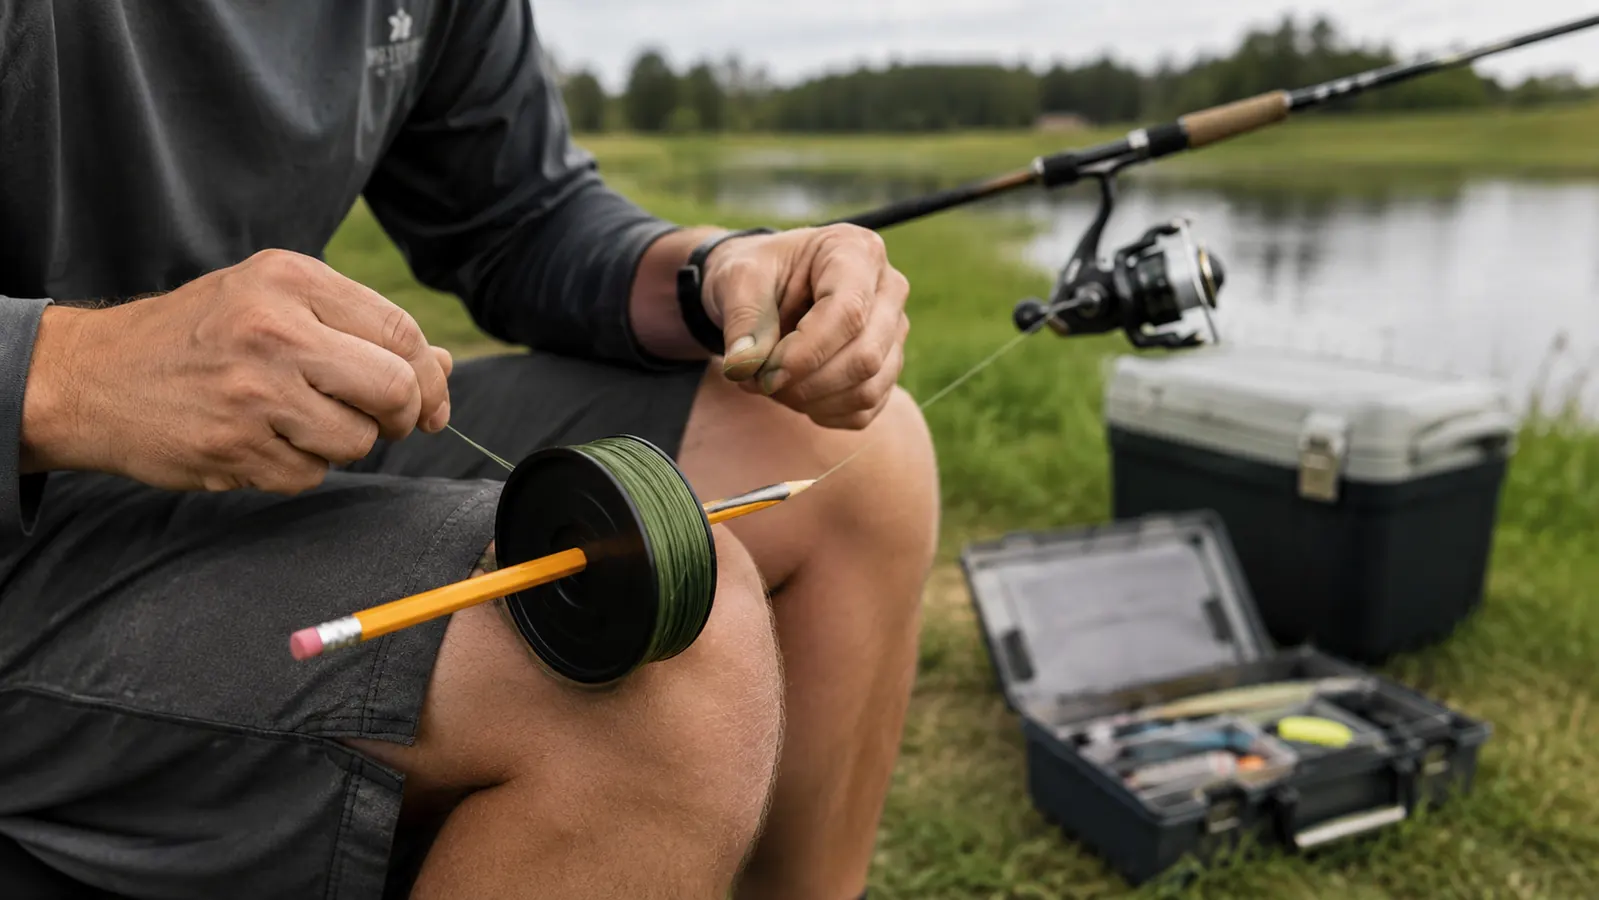
This is the step most people skip, and it is the whole ballgame. Never let line come off the edge of a stationary filler spool. When the filler spool sits still on the floor and the line pulls over its edge, every inch of line picks up a twist as it leaves. You cannot see it going on, but the first cast shows it. The twist is already in the line before it ever touches your reel, and no amount of careful cranking will take it out.
The fix is to let the filler spool spin. Push a pencil or a smooth dowel through the center hole of the Power Pro spool and hold it so the spool can turn around it. Set it at your feet, label up or label down depending on your reel, and let the line pull straight off the face of the spool. The spool turns with the line, so no twist is added. That one simple change fixed my spooling for good, and it costs nothing.
The direction question comes up every time someone learns this. On most spinning reels, you want the line coming off the bottom of the filler spool so it matches the way the reel lays line. But the honest answer is that the direction matters less than the spool spinning free. If your first test cast loops and twists, flip the filler spool over and redo it. The line will tell you which way it wants to come off, and that test cast is cheaper than a blown trip.
If you want to get fancy, a line winder with a spindle does the same job and adds even, adjustable tension. But a pencil through the spool works fine and packs in any tackle box. Keep the filler spool between your feet and the reel so the line runs a straight, even path. The fewer angles the line has to bend around, the fewer chances for a twist to sneak in.
Step 3: Put Real Tension on the Line With a Damp Cloth
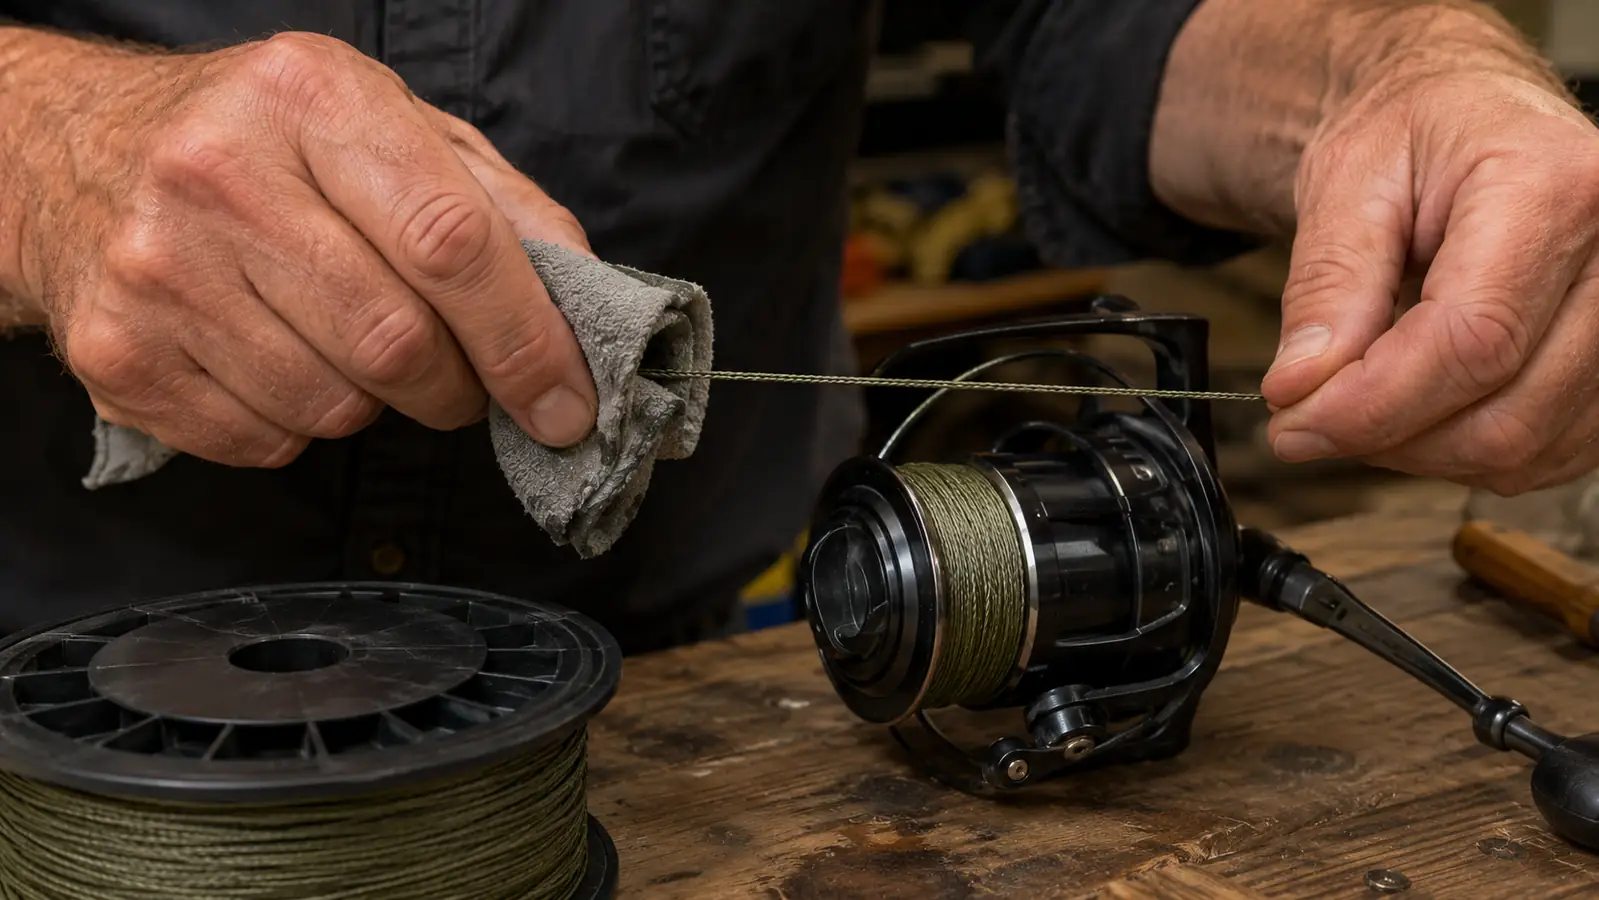
Braid has to go on tight. If it goes on loose, the top layers bury into the layers below them on the first few casts, and you get that grinding, digging feel every single time you cast. The reel cannot put enough tension on its own, not even with the drag cranked down. You have to add tension with your hand, and the tool for that is a damp cloth.
Here is the method. Wet a small rag or a folded paper towel, wrap it over the line, and pinch it lightly between your thumb and fingers as the line runs through to the reel. You want enough pinch that the line pulls through with a steady drag, but not so much that you stall the reel or burn your hand. The wet cloth does two jobs at once: it adds friction for tension, and it carries away the heat that friction makes.
Why wet? Because braid runs hot when you spool it under tension, and a dry rag on a fast-moving line can heat the line enough to weaken it in one spot. Water keeps everything cool and helps the line lay flat and tight, row on row. I also wet the line again right before I tie my first knot. Braid is slick and a dry knot can pull loose or burn itself weak. A wet knot cinches down and stays.
Step 4: Fill the Spool Even, Not Full
Keep the line level as it goes on. Run the reel slowly and let the line lay across the spool in even rows, guiding it with the same pinched cloth. If it piles up in one spot, stop, reset, and let it even out. A spool that fills uneven will cast uneven no matter how good the line is. This is the step where patience pays, because rushing it here undoes everything you did in the first three steps.
Fill the spool until the line sits just below the lip, about an eighth of an inch down. Too little line and you give up casting distance and put more strain on the backing. Too much, and line catches the front lip of the reel and flips off in loose loops on every cast. The right level is where the line sits flush with the top edge of the spool but never bulges past it. When you reach that line, stop cranking.
Watch the spool as it fills and keep your eye on how the line lays near the edges. Braid is thin for its strength, so a little goes a long way, and it is easy to overshoot the fill level without noticing. When in doubt, leave the spool slightly low rather than slightly high. A spool that is a hair underfilled still casts fine. A spool that is overfilled tangles from the first cast and makes you start over anyway.
Step 5: Work Out the Last Twist Before You Fish
No matter how careful you are, a spool can pick up a twist or two on the way. The fix is to get it out before your first real cast, not after. Tie on an old lure or a practice plug, find some open water or a yard, and make a long cast. Let the lure sit for a second, then reel in slowly. Repeat three or four times. You are pulling any hidden twist out of the line and loading it back under tension, which is how it should have gone on in the first place.
The other trick is the field strip, and it is the one I trust most. Open the bail and pull line off the reel in long loops with your hand, letting it fall in a loose pile on the grass or the boat deck. Then feed it back through the wet cloth and reel it in under tension. If there was any twist in the line, this takes it out and reloads it clean. I do this on every fresh spooling and I have not had a first-cast blowup since.
Before you call it done, set your drag and check the spool tension once more. With the line threaded through the guides and a lure tied on, pull line off against the drag and let it back. The line should come off smooth and go back on even. If it fights you or lays back crooked, do the field strip again. Ten minutes of this now saves you an hour of picking line out of a tangle on the water later.
What Else Helps
A few extras make the whole job easier and keep braid casting well all season. A line conditioner sprayed on the spool before you start lets the line lay slicker and cuts down on friction as it runs through the guides. A spooling station or a second pair of hands keeps tension steady, but the wet-cloth pinch does the same job solo, and that is how most of us spool anyway, on a tailgate or a porch.
Keep braid out of direct sunlight when it sits on the reel for weeks between trips. The sun breaks down the coating over a season and the color fades faster than it should. And strip and re-spool once a season if you fish hard. Power Pro holds up well, and I have had a spool on a reel for two years, but every line earns a fresh start, and the spooling method above makes the change cheap and fast.
One last thing. When you tie braid to a swivel, a snap, or a lure, wet the knot before you pull it tight every single time. Braid runs hot, and a dry knot cinched hard can burn its own fibers and fail on the first good fish. That is not a line problem, it is a knot problem, and it is the easiest one to fix on this whole page.
The first time I spooled Power Pro straight off a stationary spool, the first cast came back looking like a spool of thread a cat had gotten into. A pencil through the filler spool fixed it, and it has never happened again.
Get a Fresh Spool and Do It Right
Power Pro braided line is my pick for spinning reels, and spooled clean it casts like nothing else I own. Check today's price on Amazon and set yourself up for a twist-free season.
Amazon Check Today's Price on Amazon →