
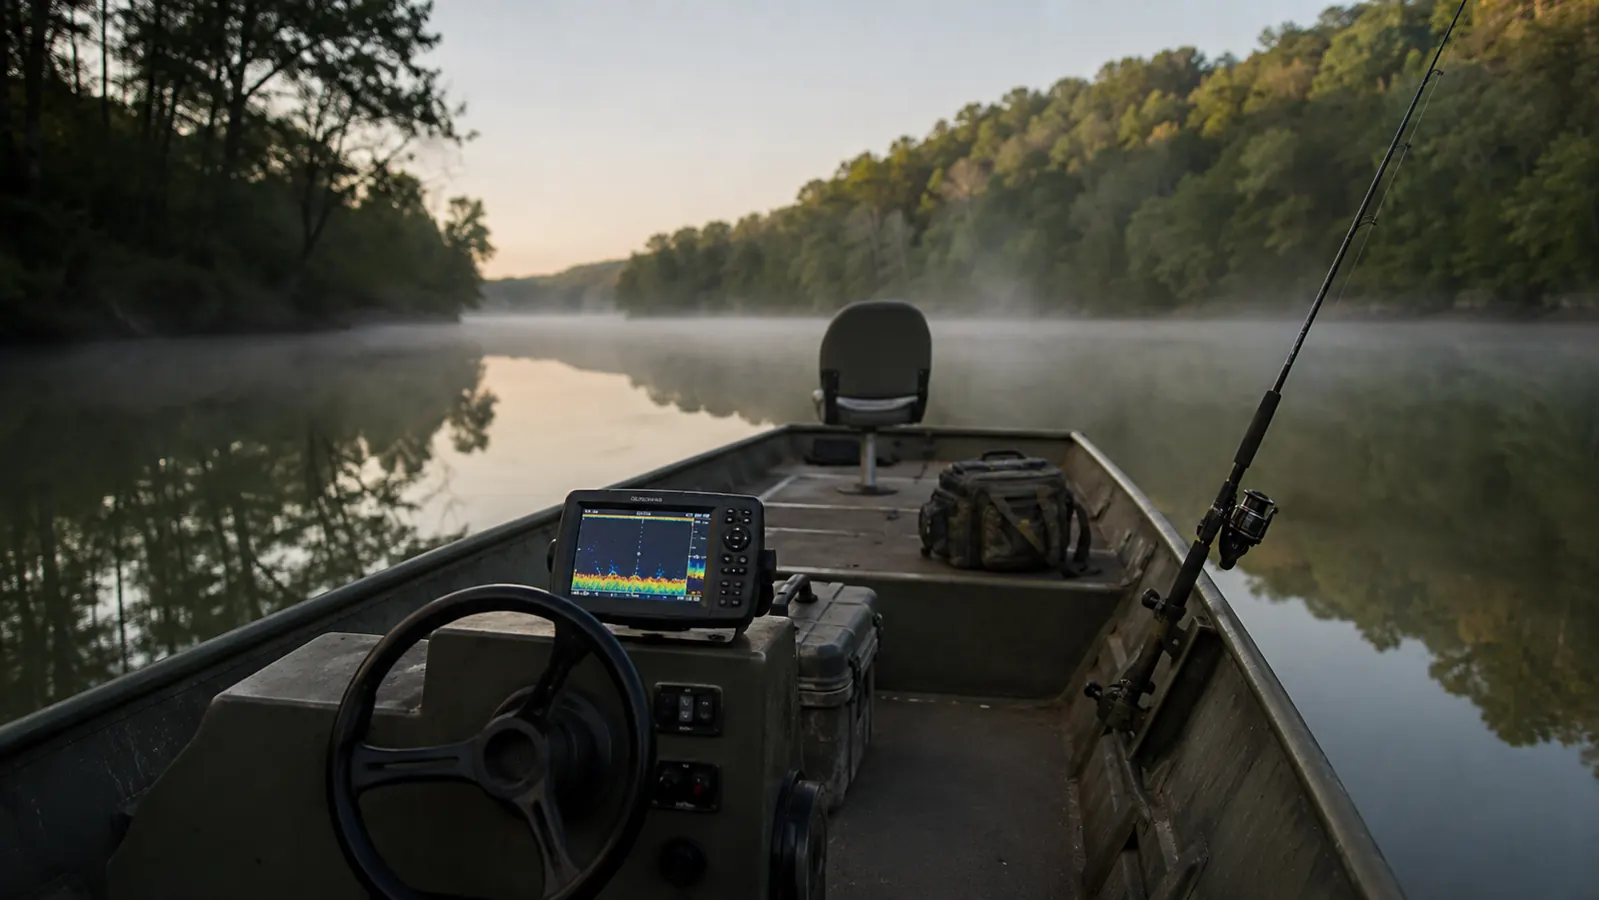
I'll be straight with you about the Garmin Striker 4: the sonar works right out of the box. You bolt the transducer on, drop the boat in, and there's your bottom, plain as day. That has never been the problem with this unit. The problem is the reading. The first afternoon I mounted mine on the front of my jon boat on the White River, I sat there watching red arches scroll across a three and a half inch screen and I could not have told you which one was a fish, which one was a stump, and which one was just noise. I fished the whole evening blind and came home with one dink smallmouth and a sunburn.
If that is where you are right now, staring at a screen that might as well be a lava lamp, this is the guide I wish somebody had handed me that first day. I have run the Striker 4 for two full seasons now, spring crappie on the lake, smallmouth on the river, catfish on summer nights, and I can read a drop-off, a brush pile, and a school of bait at a glance. None of it is hard once you know the five things the screen is telling you. They build on each other, so go through them in order.
Start With a Screen You Can Actually Read
The Garmin Striker 4 has been on my boat for two seasons and it is still the first thing I turn on at the ramp. If you are ready to stop fishing blind, check today's price on Amazon.
Amazon Check Today's Price on Amazon →The Five Things the Screen Is Telling You
A fish finder screen is really just five layers of information stacked on top of each other: how the transducer is aimed, how much clutter the gain is painting, what the bottom is made of, where the fish are holding, and where you have marked it all down. Every one of those layers is a separate knob you can turn, and the Striker 4 gives you all five for a price that does not scare off a weekend angler. Work through the layers in order and the screen goes from static to a map of the water under your boat. The order matters, because each layer cleans up the one below it.
Step 1: Set the Transducer Up Right Before You Read Anything
The finder is only as honest as its transducer. If the puck on your transom is tilted a couple of degrees, or sitting so high it catches air when you get on plane, then every arch and bottom line you read from then on is a lie. The Striker 4 comes with a transom mount and all the hardware, and it will read clean if you take ten minutes to do it right. Mount the transducer so its face hangs just below the bottom of the hull, level from front to back and side to side, and use the bracket shims to get it flat. That is the whole key to a steady picture.
You can check your work without a level. Run the boat up on plane and watch the bottom line on the screen. If it holds steady at twenty five miles an hour, you are level. If the bottom blinks out or jumps every time the hull chines, the transducer is sitting in turbulence. Tilt the back edge down a touch and try again. Ten minutes of fiddling on the trailer saves you a whole season of squinting at a screen that cannot make up its mind, and it is the step almost nobody does before they blame the fish finder.
Step 2: Cut the Clutter Before You Look for Fish
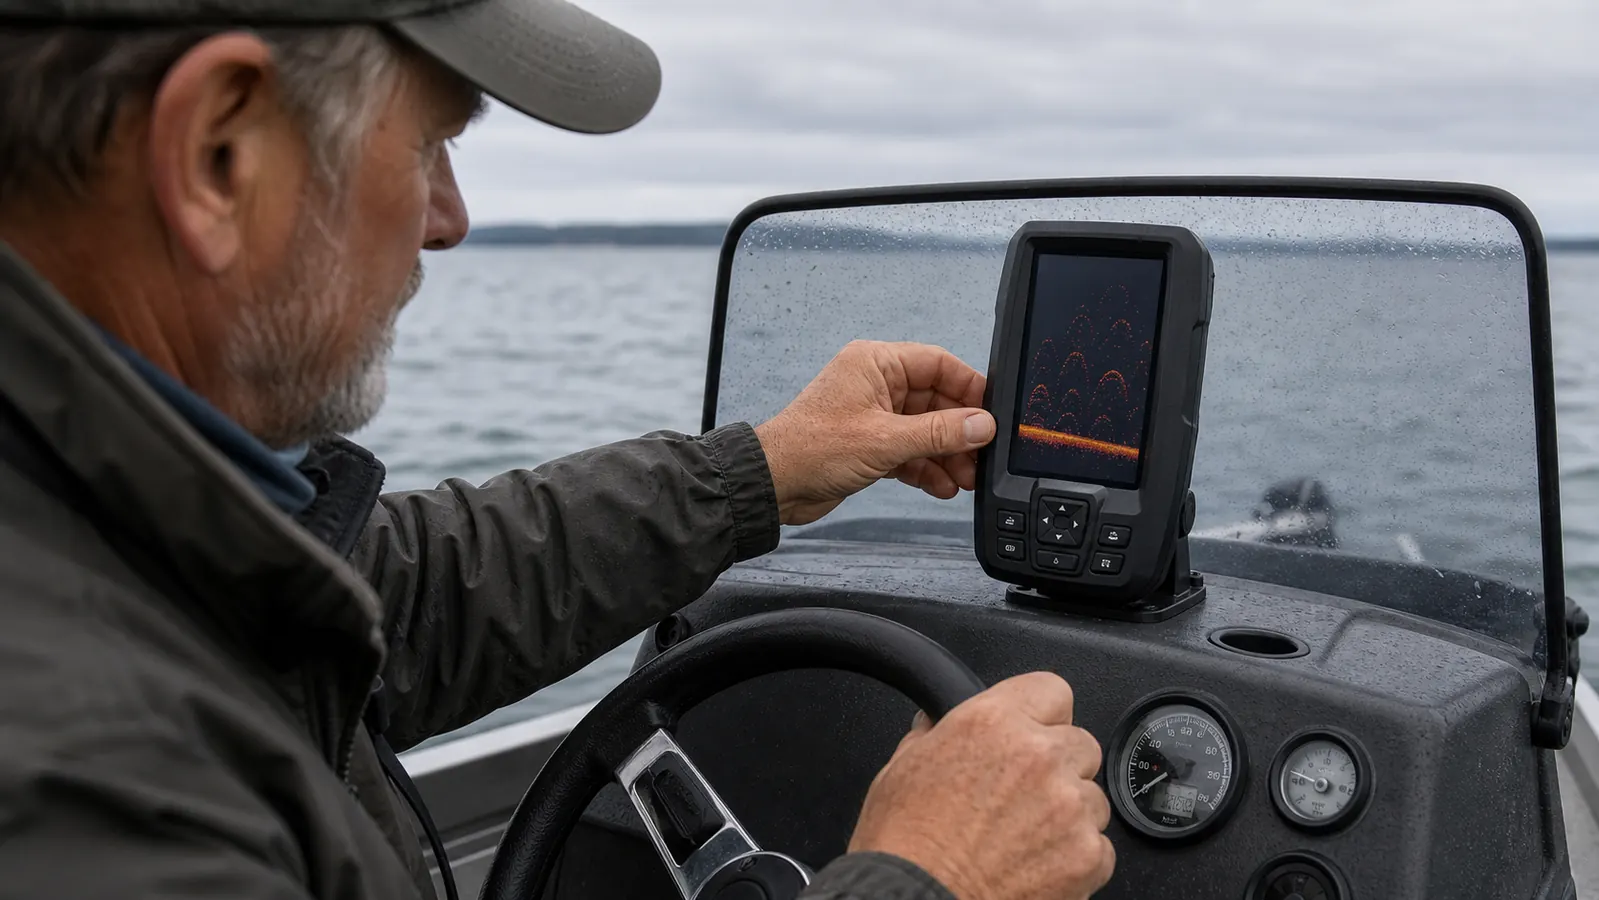
The Striker 4 defaults to a busy screen, and on a 3.5 inch display, clutter is the enemy. My biggest early mistake was running every setting wide open and trying to read the mess. You do not need all of it. Set the sonar to Medium CHIRP and leave it there for most days. CHIRP is this unit's party trick and it is genuinely good, it separates a fish from a branch better than the old single frequencies, but you do not need to switch it around every trip. On a bright, shallow river I drop to High CHIRP for a tighter picture, and in deep lake water Low CHIRP reaches down further.
Then back the gain off. Auto gain on the Striker 4 paints the whole water column full of gray fuzz, and that fuzz is noise, not fish. Turn the gain down until the bottom line is solid and the clutter fades to almost nothing. What is left on the screen is real. A clean, quiet screen is the whole trick. When you are marking fish on a screen that quiet, you can trust what you see instead of guessing.
Set the scroll speed near the middle so the right side of the screen keeps a decent history of what you just passed over. Too fast and the arches smear; too slow and the screen turns into a puddle of old data.
Step 3: Read the Bottom Before You Read the Fish
Here is the habit that changed how I fish more than any setting on the unit: stop looking for fish first and start reading the bottom. Fish relate to structure the way you relate to your favorite spot. They hold on a drop-off, a creek channel, a brush pile, a gravel point. If you can read the bottom, you already know where to cast before you ever see an arch.
The Striker 4 shows bottom hardness in how bright and thick the bottom line is. A hard bottom, rock or gravel, comes back bright and bold, and you will often see a faint second echo underneath it. That second line is the sound bouncing off the bottom, then off the surface, then back down again. A soft bottom, mud or thick weeds, shows a thinner, dimmer line. That one detail tells you whether you are working a gravel point that will hold smallmouth or a mud flat that will not hold anything but turtles.
Watch for the bottom line to change as you idle along. When that bright line steps down off a ledge and gets deep, that is a break line, and fish stack on breaks. When you see a tight cluster of marks holding right on a hard bottom where it shelves off, you have found the spot. Drop a waypoint on it, because you will want to come back.

Step 4: Read the Arch, and Read the Shape
Now the part everybody asks about: the arches. A fish shows up as an arch because of the cone. The transducer sends a pulse out in a cone shape, and a fish swimming through that cone is a little farther away when it enters, closer at the center, and farther again as it leaves. The screen draws that changing distance as an arch. Think of the cone as a flashlight beam under the boat. The beam spreads wider as it goes deeper, which is why the same fish makes a bigger arch in deep water than shallow. It is geometry, not magic, and once you know that, the arch stops being a mystery and starts being a measurement.
Read the shape before you read the size. A tall, thin, sharp arch is a fish suspended out in open water, and more often than not it is a fish you will not catch, because it is not feeding on the bottom. A short, thick, fat arch is a bigger fish, or a fish hugging the bottom, and that is the one you want. If the arch is sitting right on the bottom line, that fish is lying on the bottom, and you can put a bait on its nose.
There is one more thing the manual will not tell you. The arch on the screen is the past. The fish has already moved on by the time you see it. So do not cast at the arch. Cast at the structure the arch is holding on, because that is where the next fish will be. The arch tells you the spot is alive; the bottom tells you where to put the bait.
Step 5: Mark the Spot and Come Back
This is where the Striker 4 earns its keep, and it is the step most people skip. The unit has GPS, and while it will not draw you a map, it will save waypoints. Every time you find a break line with fish on it, hold the mark button and save the spot. Name it something you will recognize in a month, "Smallmouth point," "Crappie brush 18 foot," "Cat hole." The names are yours, so make them mean something.
I keep a running list on mine, and it is the closest thing I have to a honey hole ledger. Two Aprils ago I marked a brush pile in sixteen feet on the big lake, and this past spring I idled right back to that same waypoint the same week. The crappie were there again, almost to the day. Fish come back to the same structure the same time of year, and the waypoint turns one lucky afternoon into a spot you can plan a trip around.
And when the screen is quiet and you are marking nothing, that is information too. You just learned where they are not, so stop burning casts and move.
What Else Helps
A few habits made the Striker 4 more useful than the sum of its buttons. First, set the backlight so you can read it in full sun before you need it. The screen is small, and a dim display turns the whole thing into a glare. Second, remember that the unit sees a cone, not the whole lake. When you mark a fish at twenty feet, you are looking at a fairly small circle of water, not a giant swath. Drift over the same spot a couple of times and compare before you trust one pass.
The biggest habit is the one that seems backwards: use the finder to scout, then turn it off and fish. I will run a stretch, read the breaks, mark the structure, and then shut the screen down and fish that spot the old way, with a lure and a feel for the bottom. The finder gets me to the right piece of water faster than any lure I own, and then I put it away and actually fish. That split has caught me more smallmouth and crappie than any single setting on the unit.
One more thing worth knowing before you buy: the Striker 4 has no built-in maps, only waypoints, and the screen is small enough that you will want reading glasses in bright light. I covered both of those honestly in my long-term Garmin Striker 4 review, and if you are weighing it against the Humminbird PiranhaMAX, I ran them side by side on the same boat. Both will help you decide before you spend.
Do not cast at the arch. The fish is already gone by the time you see it. Cast at the structure the arch is holding on, and the next fish will be right there.
If your Striker 4 has been more frustration than help, do not give up on it. Set the transducer level, back the gain off until the screen is quiet, read the bottom before you chase the arches, and mark everything worth coming back to. That is the whole method. It took me two seasons to settle on it, and it turned my finder from a glowing rectangle of noise into the most honest fishing partner on my boat.
Two Seasons Later, I Would Buy It Again
The Garmin Striker 4 is still mounted on my boat and still the first thing I turn on at the ramp. If you are ready to stop fishing blind, check today's price on Amazon.
Amazon Check Today's Price on Amazon →